This guide does not host or distribute the Minecraft Legacy Console Edition source code. The code is proprietary and owned by Mojang/Microsoft. This article only documents the compilation process for research/educational purposes.
Minecraft: Legacy Console Edition has been all over X (Twitter) recently for a rather unusual reason: the source code has surfaced online. While it doesn’t appear to be the most recent version of the game, it’s still very interesting to get a peek behind the curtain at what the source code of a console game actually looks like. If you’re a nerd like me, interested in game development, reverse engineering, or simply love Minecraft, I'm sure this will pique your interest too. And the best part? The game is surprisingly easy to get running on PC. I’m not talking about some laggy, crash-prone build either; it’s a near-native experience that runs smoothly and even includes the iconic tutorial world many players will remember. In this post, I’ll walk through the steps I used to compile a working version of the project, along with a community fork that adds a few quality-of-life improvements to make the experience even better.
Running It For Yourself
Download Visual Studio 2012
First of all, you’ll need VS2012. You can’t get this from the Microsoft website anymore, so you can instead download it from archive.org (https://archive.org/details/vs-2012-rc-ult-enu)
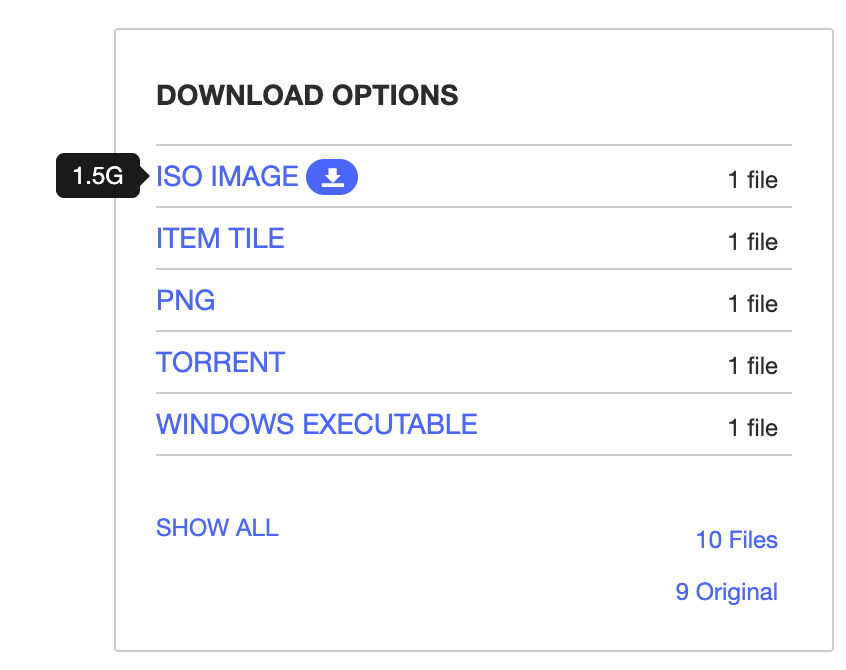
- Download the “ISO IMAGE” option
- Extract the ISO file that is downloaded
- Go into the extracted folder and then run the installer.
You will need to follow the setup steps for the installer, but at the end of it you should have VS2012 installed on your machine.
Download LCE Source Code
This guide assumes you already have access to the leaked Minecraft Legacy Console Edition source code.
Compiling
There are a few things that need to be done in order to get the source code to compile successfully. From my findings and research, here are the top-level steps to get a working copy compiled:
- Open “MinecraftConsoles.sln” from the source files, using VS2012.
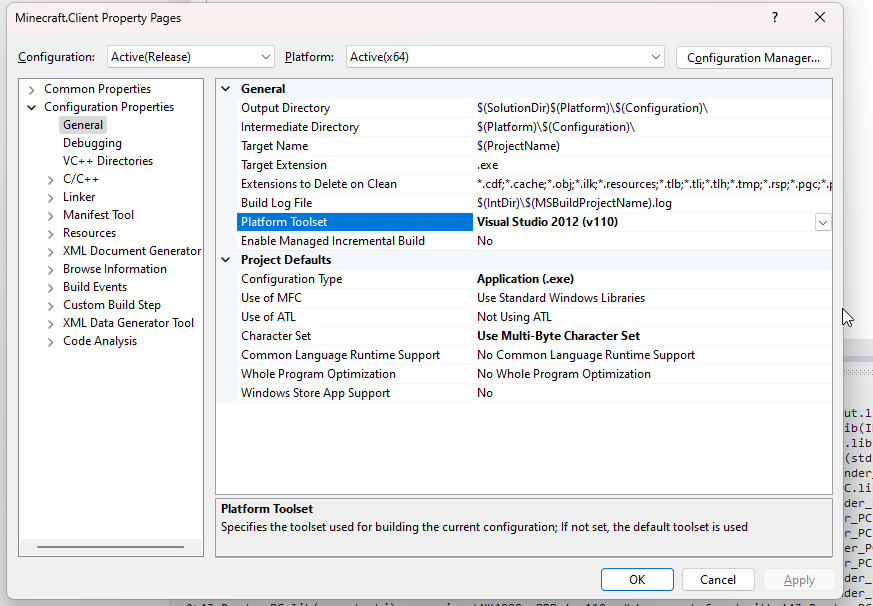
- Right-click “Minecraft.Client” on the left side and select “Properties” at the bottom. Change “Platform Toolset” to v110.
Editing Platform Toolset - Do the same for “Minecraft.World”
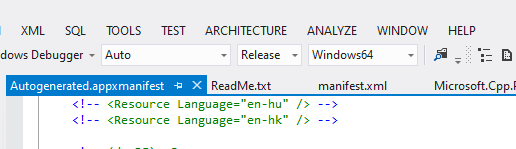
- At the top of VS2012, change to “Release” and “Windows64”
Changing to Release -> Windows64 - Choose the “BUILD” option at the top, then select “Build Solution”
- Wait for the build to complete; it will look something like this in your console while it builds. For the first time, it can take a few minutes to build.
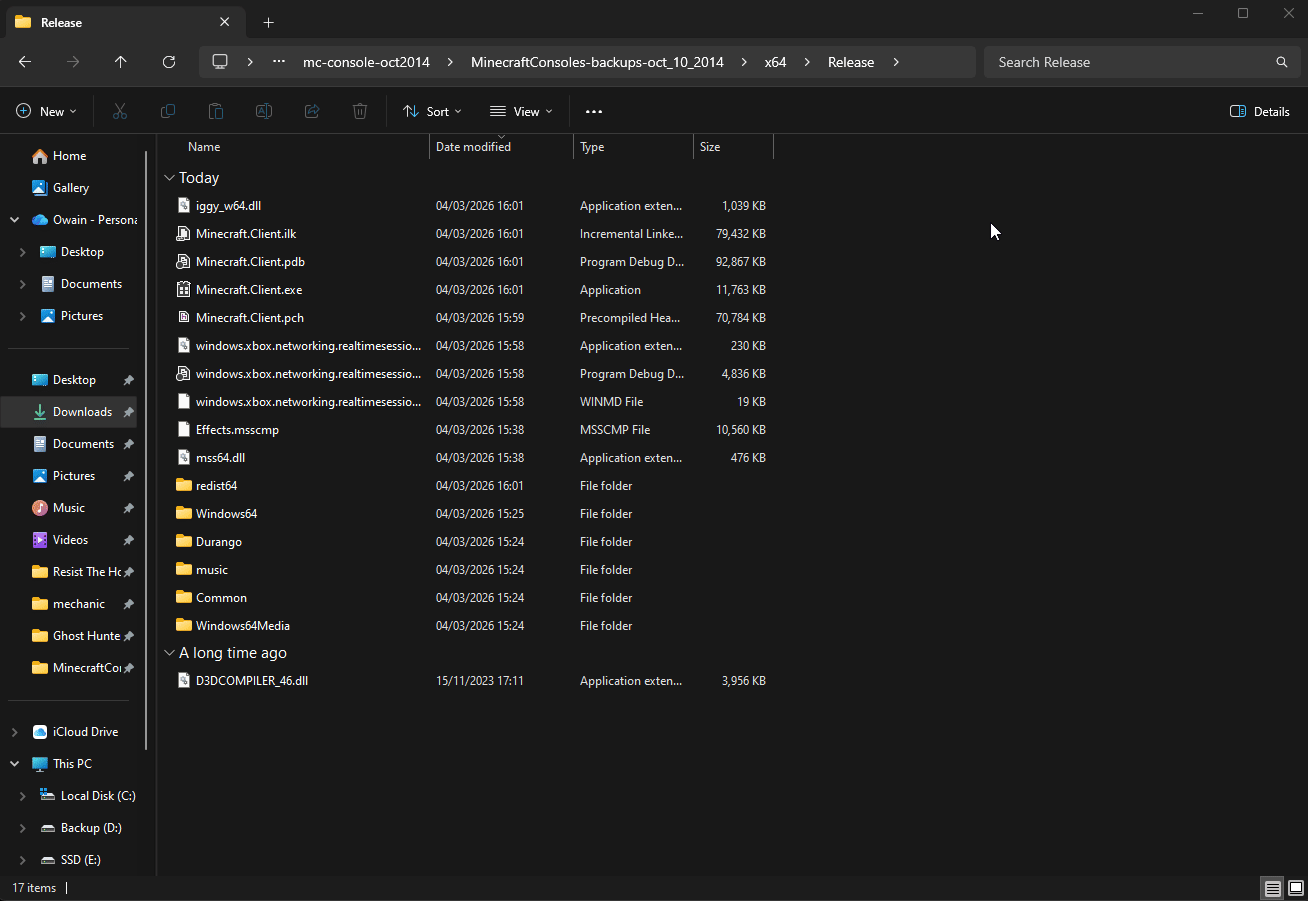
- You can access the build inside the folder /x64/Release. The “x64” should be available directly inside of the files you extracted.
- If you try to run the .exe, you will get the following error:
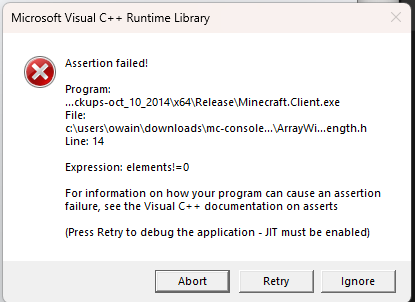
Missing content error - This is to be expected. You have to manually move some files across in order to get things working. Move the following files from “Minecraft.Client” into the “Release” folder that has the .exe
- Windows64
- Durango
- music
- Common
- Windows64Media
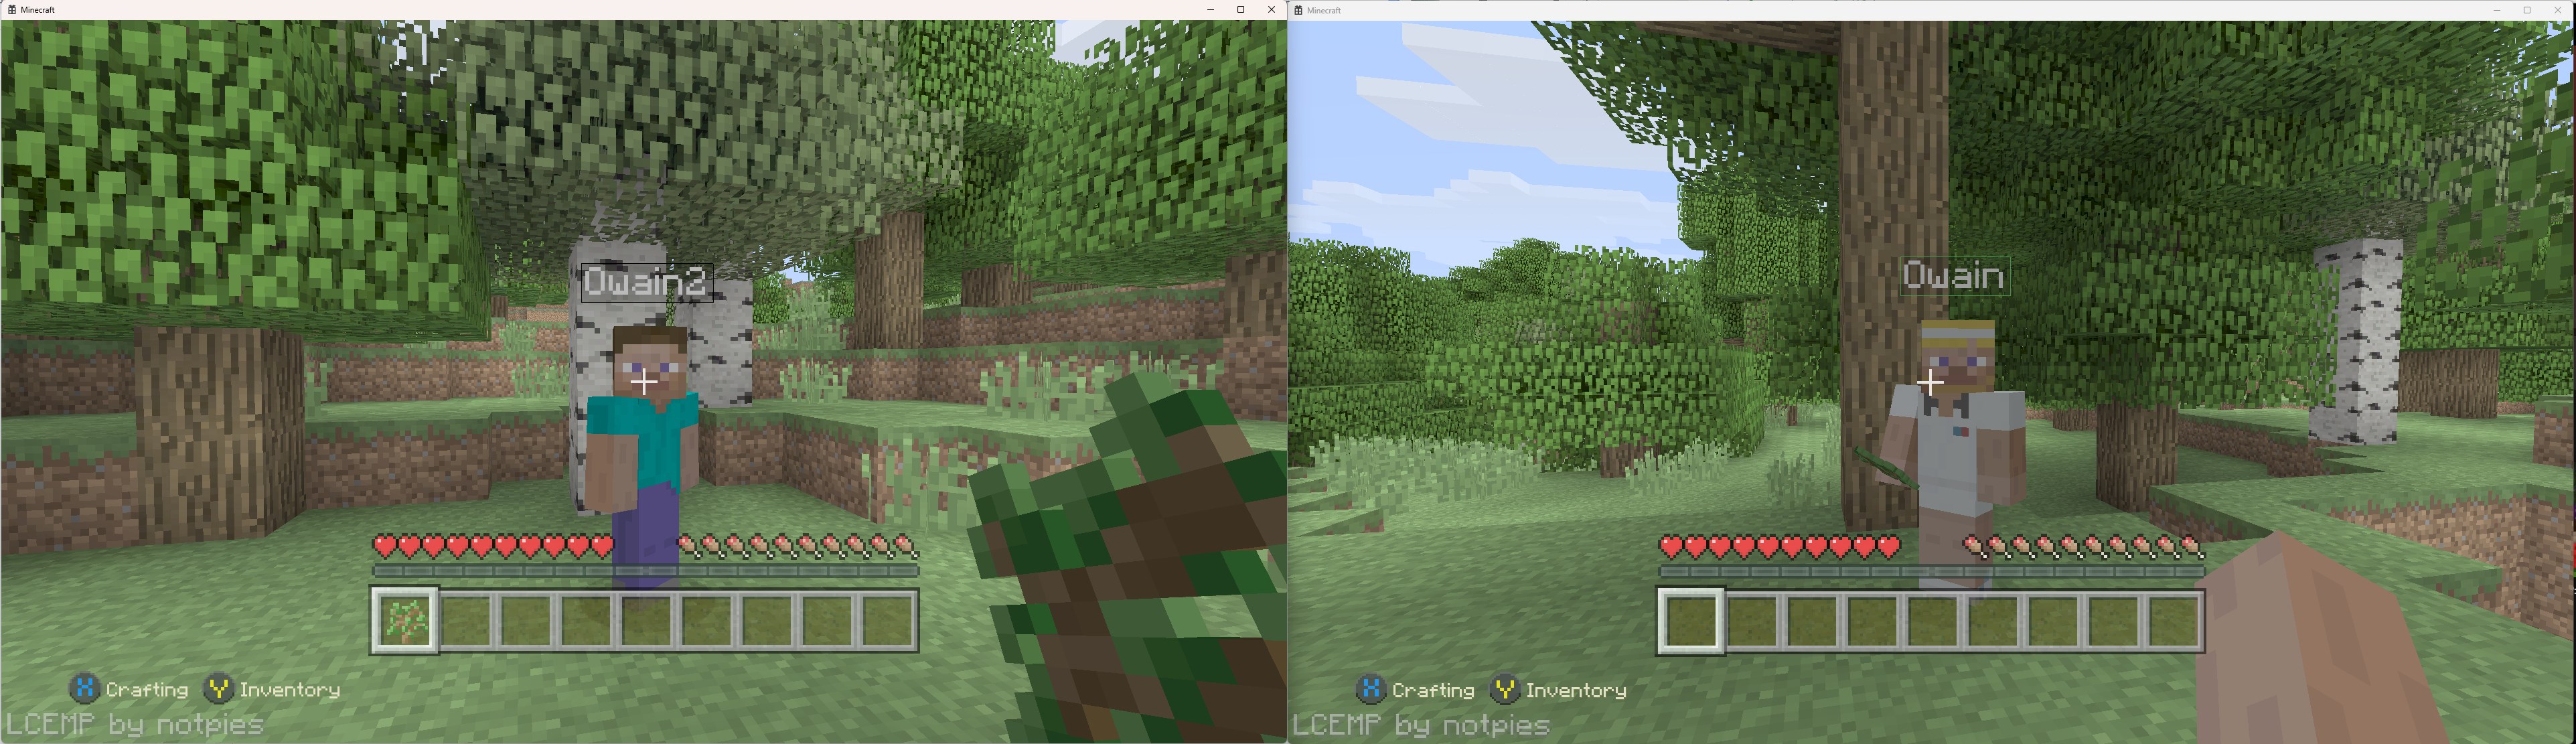
- The game should now boot as expected. You will, however, require a control in order to navigate. If you wish to use keyboard & mouse, along with some other QOL fixes and a working LAN, follow the LCEMP steps below.
This is pretty much all that is required to get a working copy of the game. If you are technically minded (The target audience of this guide), you will be surprised at how low effort it has been to get a compiled version working. If you have tried to compile things in the past, I am sure you know how painful it can be.
Using LCEMP (Community Improvements)
LCEMP seems to be the leading fork for improvements upon the codebase. They seem to be doing near-daily improvement and fixes, and all other forks I have seen have used the LCEMP fork as its base.
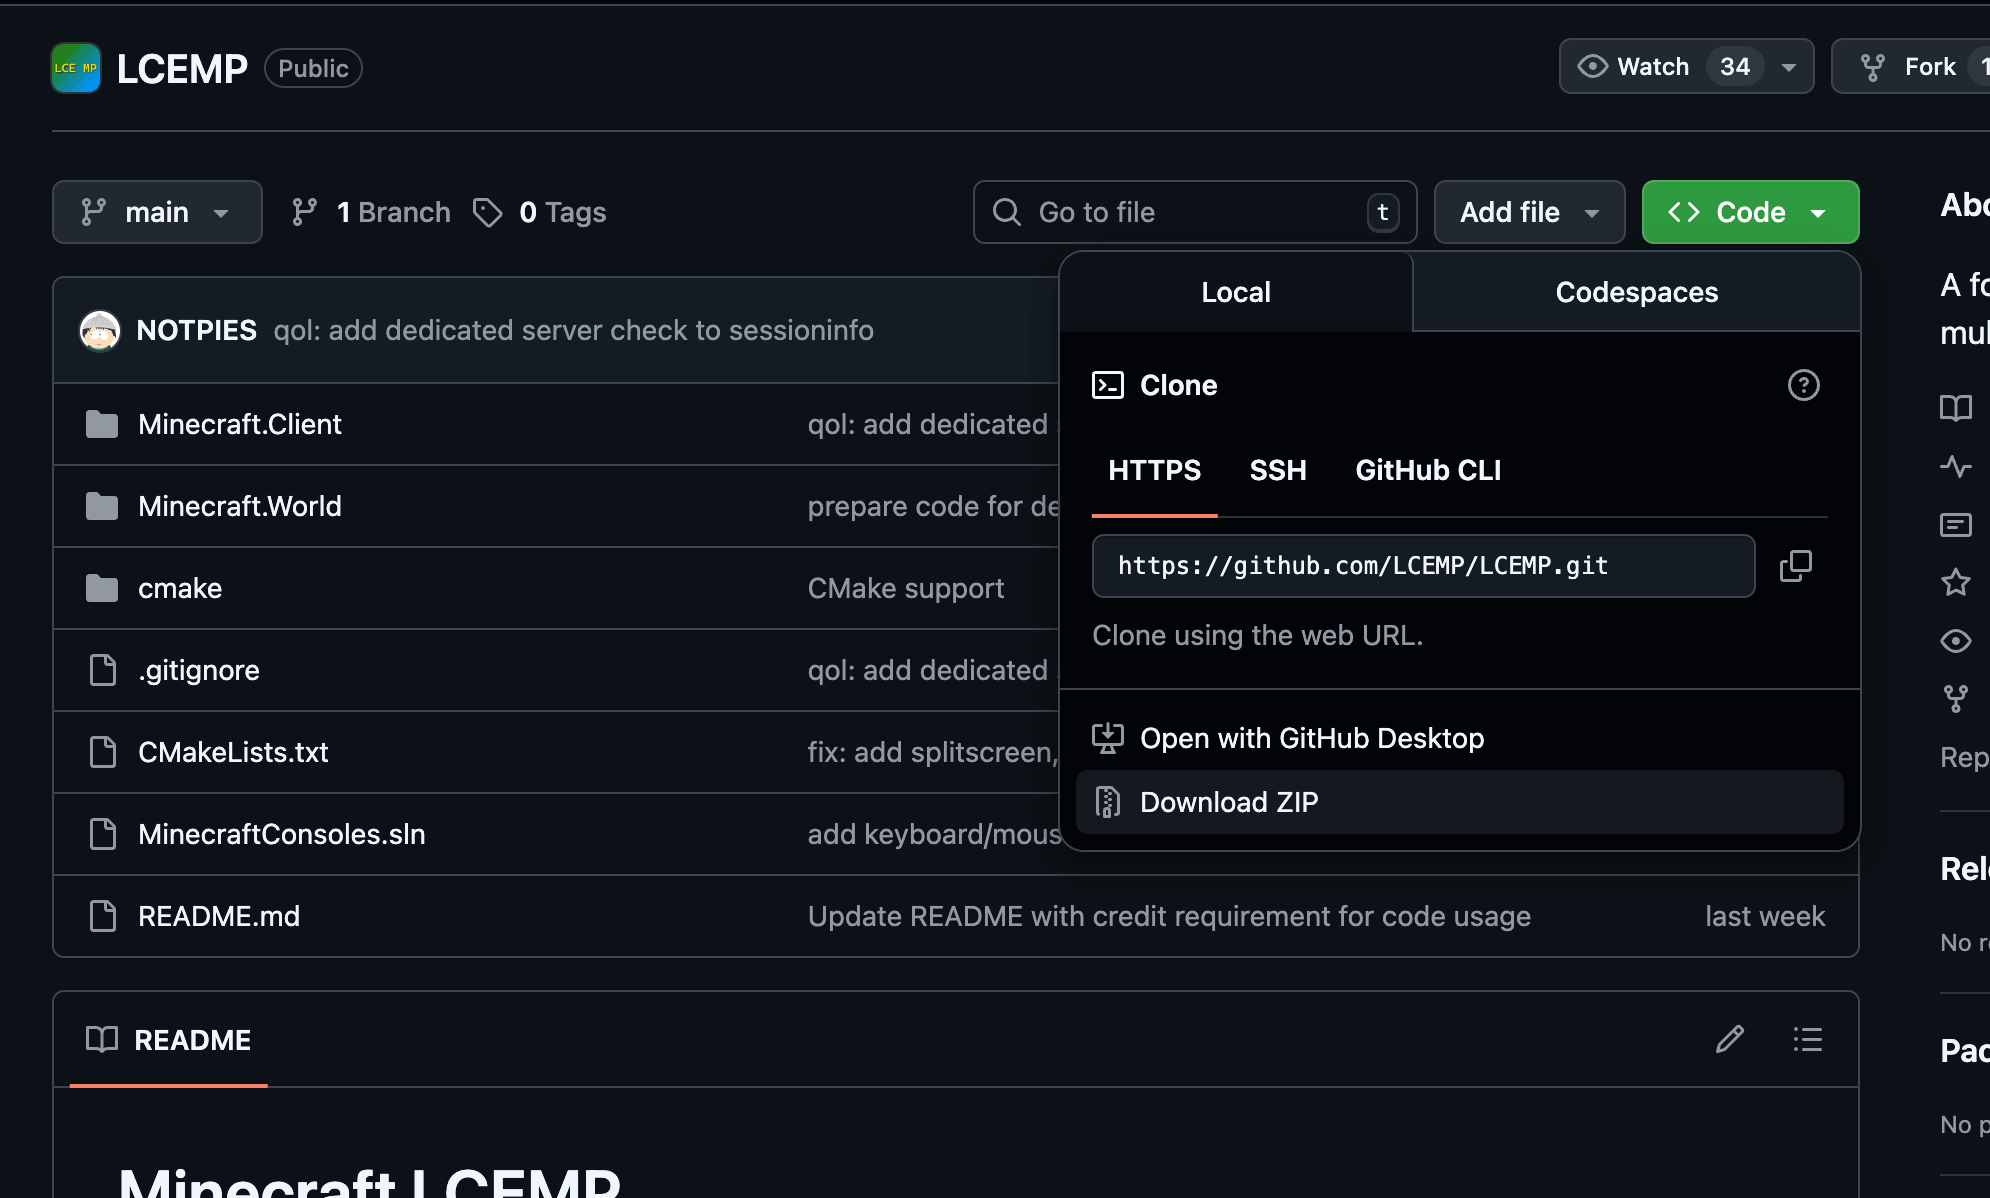
You can find the Github for this fork here: https://github.com/LCEMP/LCEMP
- Download the LCEMP repo.
Download LCEMP - Merge the files from the LCEMP into the leak you have downloaded, replacing any files that already exist.
- Rebuild the game using the BUILD -> Build Solution button.
- Go to “C:\Windows\System32” and copy “D3DCompiler_47.dll” into the “Release” folder, then rename it to “D3DCOMPILER_46.dll”.
- Copy the following files from the LCEMP fork into the “Release” folder, replacing any existing files. This has to be done as the fork edits some of these files.
- Windows64
- Durango
- Common
- Windows64Media
- Run the .exe. The first time you run it, it will prompt for network access; this is how you know it has worked.
- While you can play the game this way, the LAN functionality will not work. In order to use the LAN functionality, you must run the game from the CLI with specific arguments.
- Open a CMD terminal from the “Release” directory.
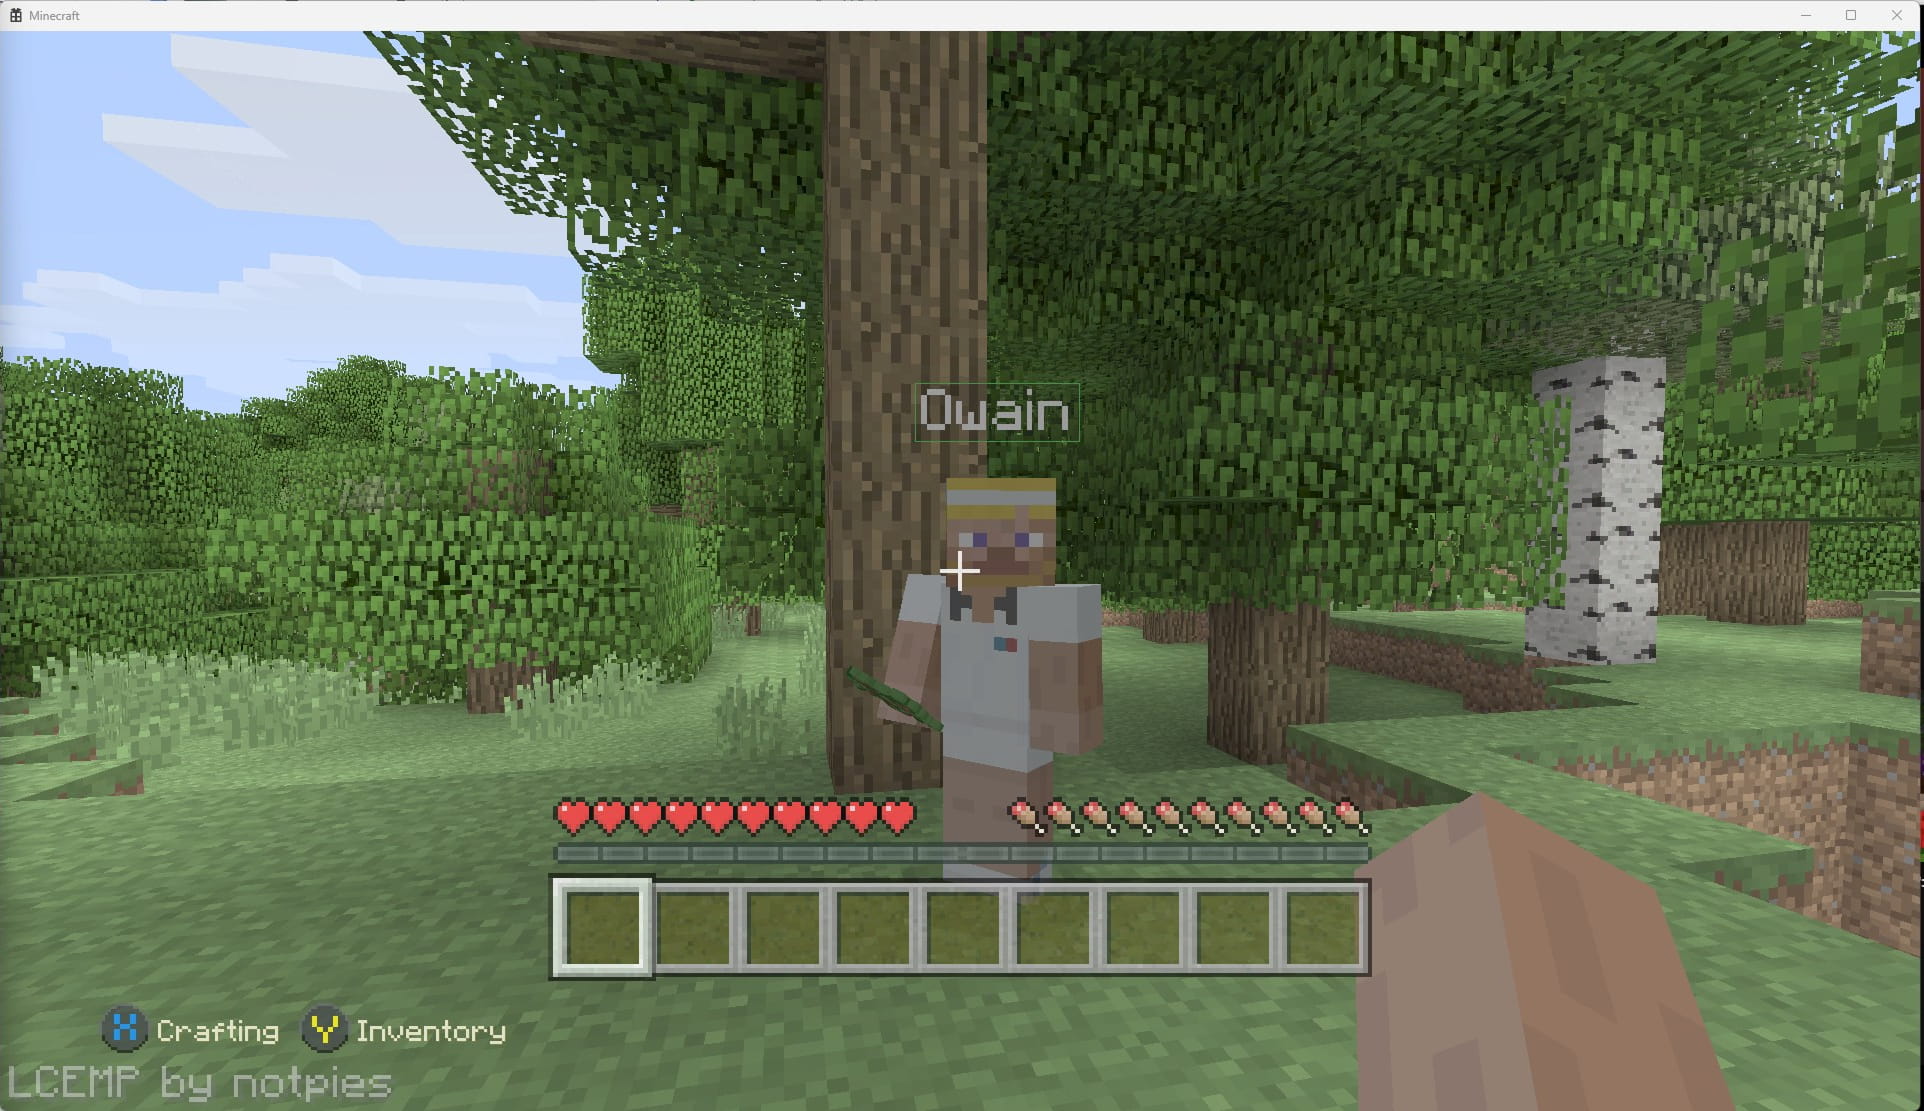
Quick opening cmd - Run the following command: Minecraft.Client.exe -name Owain
- Open a CMD terminal from the “Release” directory.
For more info on the arguments supported by LCEMP, check out this section of their documentation: https://github.com/LCEMP/LCEMP?tab=readme-ov-file#launch_arguments
Closing Thoughts
Getting Minecraft: Legacy Console Edition compiling and running locally was far easier than I expected. For such a large and historically important game, the project builds with surprisingly few hurdles once the environment is set up correctly.
Beyond simply getting it to run, digging through the codebase is interesting in its own right. Even a quick look reveals a lot about how the console versions of Minecraft were architected and how different systems interact.
The community has already begun building tools and improvements around the project as well. The LCEMP fork in particular adds several quality-of-life features that make experimenting with the compiled version much easier, and it’s exciting to see people collaborating on improvements so quickly.
If you enjoy exploring older game code, experimenting with builds, or just seeing how a project of this scale is put together, there’s plenty here to dive into. I’m looking forward to seeing what the community continues to discover as people spend more time exploring the codebase.